Cleaning the transfer roller in your laser printer is a crucial maintenance step that should be performed every 3-6 months, or whenever you notice print quality issues such as streaks, smudges, or faded areas. This component plays a vital role in transferring toner from the drum unit to the paper, and a dirty roller can significantly degrade print output.
Understanding the Transfer Roller’s Function
The transfer roller, sometimes referred to as the transfer belt in more complex color laser printers, is responsible for attracting toner particles from the photoconductive drum and then applying them to the paper. It uses an electrostatic charge to achieve this. Over time, paper dust, toner residue, and other debris can accumulate on its surface, interfering with this delicate process and leading to print defects. Regular cleaning ensures a consistent and high-quality transfer of toner.
Gathering Your Cleaning Supplies
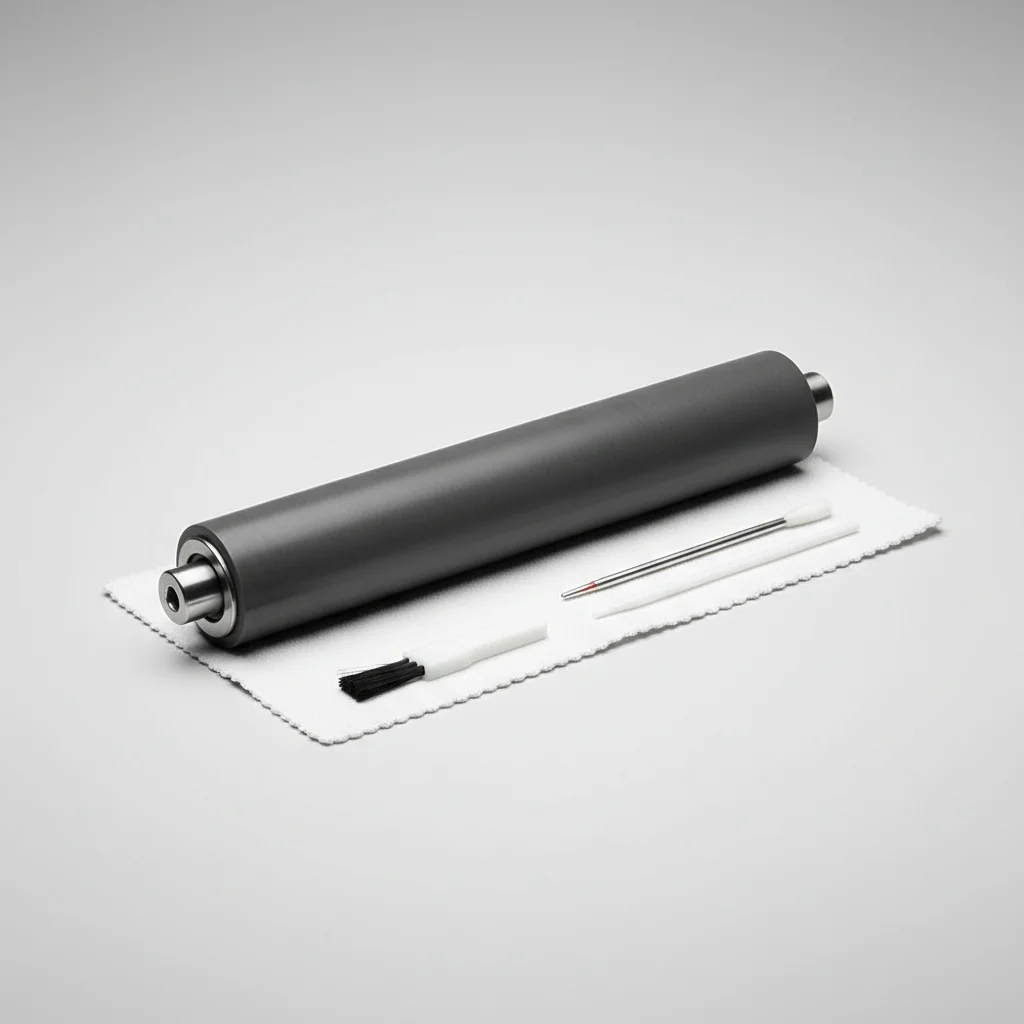
Before you begin, ensure you have the correct tools. You will need a lint-free cloth, isopropyl alcohol (99% pure is ideal), and possibly a pair of latex gloves to avoid transferring oils from your hands. Never use abrasive materials, water, or harsh chemical cleaners, as these can damage the roller’s delicate surface and impair its functionality. Always consult your printer’s manual for specific cleaning recommendations and warnings.
Step-by-Step Cleaning Process
First, power off your laser printer and unplug it from the wall outlet to prevent any electrical hazards. Allow the printer to cool down for at least 15 minutes, as internal components can be hot. Open the front or top cover of your printer to access the toner cartridge and drum unit. Carefully remove these components and set them aside on a clean, protected surface. You should now be able to locate the transfer roller, which is typically a rubber or foam roller positioned beneath the drum unit.
Gently wipe the surface of the transfer roller with a lint-free cloth lightly dampened with isopropyl alcohol. Wipe in one direction, rotating the roller as you go, to ensure you cover the entire surface. Be careful not to apply excessive pressure or scrub vigorously, as this can damage the roller. Allow the roller to air dry completely for at least 5-10 minutes before reassembling your printer. Ensure no moisture remains before powering it back on.
- Power off and unplug the printer.
- Allow the printer to cool down.
- Remove toner cartridge and drum unit.
- Locate the transfer roller.
- Gently wipe with a lint-free cloth and isopropyl alcohol.
- Allow to air dry completely.
When to Consider Professional Help or Replacement
|
Our Picks for the Best Laser Printer in 2026
As an Amazon Associate I earn from qualifying purchases.
|
||
| Num | Product | Action |
|---|---|---|
| 1 | HP Laserjet MFP M234dw Wireless Printer, Print, scan, Copy, Fast speeds, Easy Setup, Mobile Printing, Best-for-Small Teams, Instant Ink Eligible |

|
| 2 | Brother DCP-L2640DW Wireless Compact Monochrome Multi-Function Laser Printer with Copy and Scan, Duplex, Mobile, Black & White | Includes Refresh Subscription Trial(1), Works with Alexa |
|
| 3 | Brother HL-L2460DW Wireless Compact Monochrome Laser Printer with Duplex, Mobile Printing, Black & White Output | Includes Refresh Subscription Trial(1), Works with Alexa |
|
| 4 | Canon imageCLASS MF284dw Wireless Black & White Laser Printer – All-in-One for Home Use, Print/Copy/Scan, 2-Sided Printing, 35 PPM, Auto Doc Feeder, Mobile Device Compatible, Starter Toner Included |
|
| 5 | HP LaserJet MFP M235sdw All-in-One Laser Wireless Printer, Scan/Copy, Black & White, Duplex, Best-for-Office |
|
| 6 | Brother MFC-L2820DW Wireless Compact Monochrome All-in-One Laser Printer with Copy, Scan and Fax, Duplex, Black & White | Includes Refresh Subscription Trial(1), Works with Alexa |
|
| 7 | Brother HLL6210DW Business Monochrome Laser Printer with Large Paper Capacity, Wireless and Gigabit Ethernet Networking, Advanced Security Features and Mobile Printing (Renewed Premium) |
|
| 8 | Brother HL-L2405W Wireless Compact Monochrome Laser Printer with Mobile Printing, Black & White Output | Includes Refresh Subscription Trial(1), Works with Alexa |
|
| 9 | Brother HLL3280CDW Wireless Compact Color Laser Printer, Duplex, Mobile Printing & Ethernet | Includes 2 Month Refresh Subscription Trial¹, Amazon Dash Replenishment Ready (Renewed Premium) |
|
| 10 | Brother DCP-L2640DW Wireless Compact Monochrome Multi-Function Laser Printer with Copy and Scan, Duplex, Black & White Output | Includes Refresh Subscription Trial(1), (Renewed Premium) |
|
While routine cleaning can resolve many print quality issues, there are instances where professional intervention or a replacement part may be necessary. If, after cleaning, you still experience persistent print defects, the transfer roller might be worn out or damaged. Signs of a damaged roller include visible cracks, tears, or deep grooves on its surface. In such cases, attempting further DIY repairs could cause more harm. Consult a certified technician or consider replacing the transfer roller, which is often available as a separate part or integrated into a maintenance kit for your specific printer model.Many manufacturers provide detailed service manuals that can guide you through more complex replacements, though professional installation is recommended for intricate components.
Preventative Measures for Longevity
To extend the life of your transfer roller and maintain optimal print quality, always use high-quality paper that is free from excessive dust and debris. Avoid overloading the paper tray, as this can lead to paper jams and increased wear on internal components. Storing your printer in a clean, dust-free environment also helps prevent the accumulation of particles on the roller. Regularly checking for and removing any loose paper fragments or toner spills can also contribute to the longevity of your printer’s internal mechanisms.Adhering to the manufacturer’s recommended maintenance schedule, including periodic cleaning, will significantly reduce the likelihood of premature wear and tear on critical components like the transfer roller.
Get our weekly buyer guide
Practical specs, not advice. Unsubscribe anytime.
While the instructions were clear, getting to the transfer roller on my older Canon model was a bit more challenging than expected. It took me longer than I thought it would, and I almost gave up. The print quality did improve, but I wish there were more specific tips for harder-to-reach components.
I used to get annoying streaks on my reports, especially when printing large batches. I followed the steps for cleaning the transfer roller, and it completely solved the problem. It’s amazing how much difference a little electrostatic charge maintenance makes. Definitely adding this to my regular printer upkeep routine.
I’ve been having issues with faded areas on my printouts for weeks and couldn’t figure out why. This guide on cleaning the transfer roller was a lifesaver! My HP LaserJet Pro is printing like new again. It was surprisingly easy to do, and I’m so glad I didn’t have to call a technician.
Great advice here. I always focused on cleaning the toner cartridge area, but never really thought about the transfer roller specifically. I perform maintenance every 6 months, and adding this step has definitely improved the overall crispness of my documents. My Brother printer seems much happier now.