Cleaning the fuser roller in a laser printer is a critical maintenance task that can significantly extend the life of your printer and improve print quality. You should aim to clean the fuser roller every 50,000 to 100,000 pages, or whenever you notice consistent smudging or streaking on your prints. This proactive approach prevents common printing issues and costly repairs.
Why Fuser Roller Cleaning is Essential
The fuser assembly is one of the most important components in a laser printer, responsible for bonding the toner to the paper using heat and pressure. Over time, toner dust, paper fibers, and other debris can accumulate on the fuser roller. This buildup can lead to print defects such as smudges, streaks, and uneven toner application. Regular cleaning ensures the fuser can maintain its optimal temperature and pressure, resulting in crisp, professional-quality prints.
Tools and Materials Needed for Cleaning
Before you begin, gather the necessary tools. You will need a lint-free cloth, isopropyl alcohol (99% pure), a pair of heat-resistant gloves, and a small, soft brush or compressed air. Always ensure your printer is turned off and unplugged for at least 30 minutes before starting to allow the fuser to cool down completely. The fuser operates at very high temperatures, so safety is paramount.
- Lint-free cloth
- 99% Isopropyl alcohol
- Heat-resistant gloves
- Small, soft brush or compressed air
- Flashlight (optional, for better visibility)
Step-by-Step Fuser Roller Cleaning Process
|
Our Picks for the Best Laser Printer in 2026
As an Amazon Associate I earn from qualifying purchases.
|
||
| Num | Product | Action |
|---|---|---|
| 1 | Brother DCP-L2640DW Wireless Compact Monochrome Multi-Function Laser Printer with Copy and Scan, Duplex, Mobile, Black & White | Includes Refresh Subscription Trial(1), Works with Alexa |

|
| 2 | Brother HLL6210DW Business Monochrome Laser Printer with Large Paper Capacity, Wireless and Gigabit Ethernet Networking, Advanced Security Features and Mobile Printing (Renewed Premium) |
|
| 3 | Brother HL-L2460DW Wireless Compact Monochrome Laser Printer with Duplex, Mobile Printing, Black & White Output | Includes Refresh Subscription Trial(1), Works with Alexa |
|
| 4 | Brother HL-L2405W Wireless Compact Monochrome Laser Printer with Mobile Printing, Black & White Output | Includes Refresh Subscription Trial(1), Works with Alexa |
|
| 5 | HP LaserJet MFP M235sdw All-in-One Laser Wireless Printer, Scan/Copy, Black & White, Duplex, Best-for-Office |
|
| 6 | Brother DCP-L2640DW Wireless Compact Monochrome Multi-Function Laser Printer with Copy and Scan, Duplex, Black & White Output | Includes Refresh Subscription Trial(1), (Renewed Premium) |
|
| 7 | Brother HLL3280CDW Wireless Compact Color Laser Printer, Duplex, Mobile Printing & Ethernet | Includes 2 Month Refresh Subscription Trial¹, Amazon Dash Replenishment Ready (Renewed Premium) |
|
| 8 | Canon imageCLASS MF284dw Wireless Black & White Laser Printer – All-in-One for Home Use, Print/Copy/Scan, 2-Sided Printing, 35 PPM, Auto Doc Feeder, Mobile Device Compatible, Starter Toner Included |
|
| 9 | Brother MFC-L2820DW Wireless Compact Monochrome All-in-One Laser Printer with Copy, Scan and Fax, Duplex, Black & White | Includes Refresh Subscription Trial(1), Works with Alexa |
|
| 10 | HP Laserjet MFP M234dw Wireless Printer, Print, scan, Copy, Fast speeds, Easy Setup, Mobile Printing, Best-for-Small Teams, Instant Ink Eligible |
|
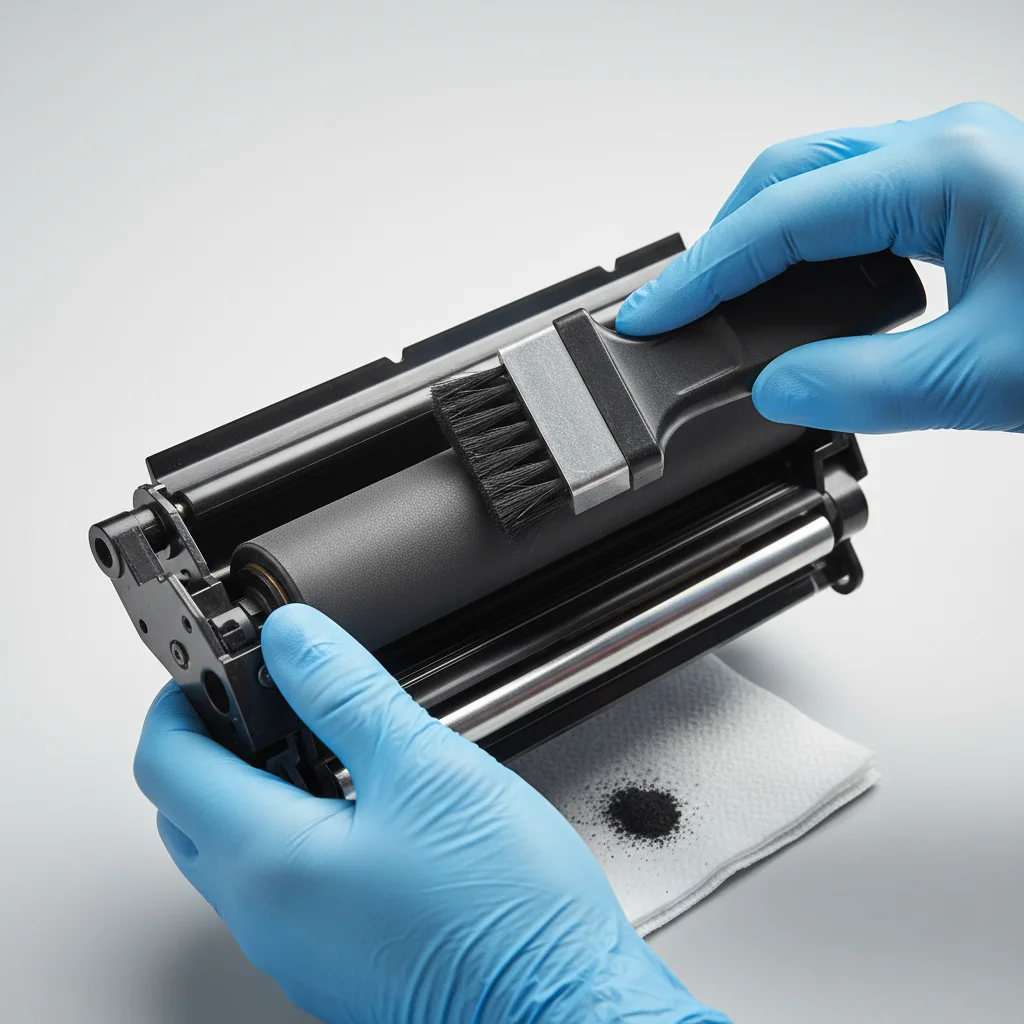
First, open the printer’s access panel to locate the fuser assembly. Consult your printer’s manual for the exact location, as it varies by model. The fuser is typically a cylindrical unit, often labeled with a warning about high temperatures. Carefully remove the fuser assembly, following the manufacturer’s instructions. Once removed, gently wipe the fuser roller with the lint-free cloth lightly dampened with isopropyl alcohol. Avoid saturating the cloth. Use the soft brush or compressed air to remove any loose debris from around the fuser area. Reinstall the fuser assembly and close the access panel.
Common Issues After Cleaning and Troubleshooting
After cleaning, if you notice new print quality issues, double-check that the fuser assembly was reinstalled correctly and that no foreign objects were left inside the printer. Sometimes, residual alcohol can cause temporary streaking; running a few test pages usually resolves this. If problems persist, the fuser roller might be worn out and require replacement. A worn fuser roller can manifest as consistent ghosting or toner not adhering properly to the paper.
Preventative Measures to Extend Fuser Life
To minimize the need for frequent fuser cleaning and extend its lifespan, always use high-quality paper and genuine toner cartridges. Inferior paper can leave more dust and debris, while non-OEM toner might not fuse correctly, leading to buildup. Additionally, avoid overloading the paper tray and ensure proper ventilation around your printer to prevent overheating. Regular, light cleaning of the printer’s interior with compressed air can also help prevent debris accumulation.
Get our weekly buyer guide
Practical specs, not advice. Unsubscribe anytime.